
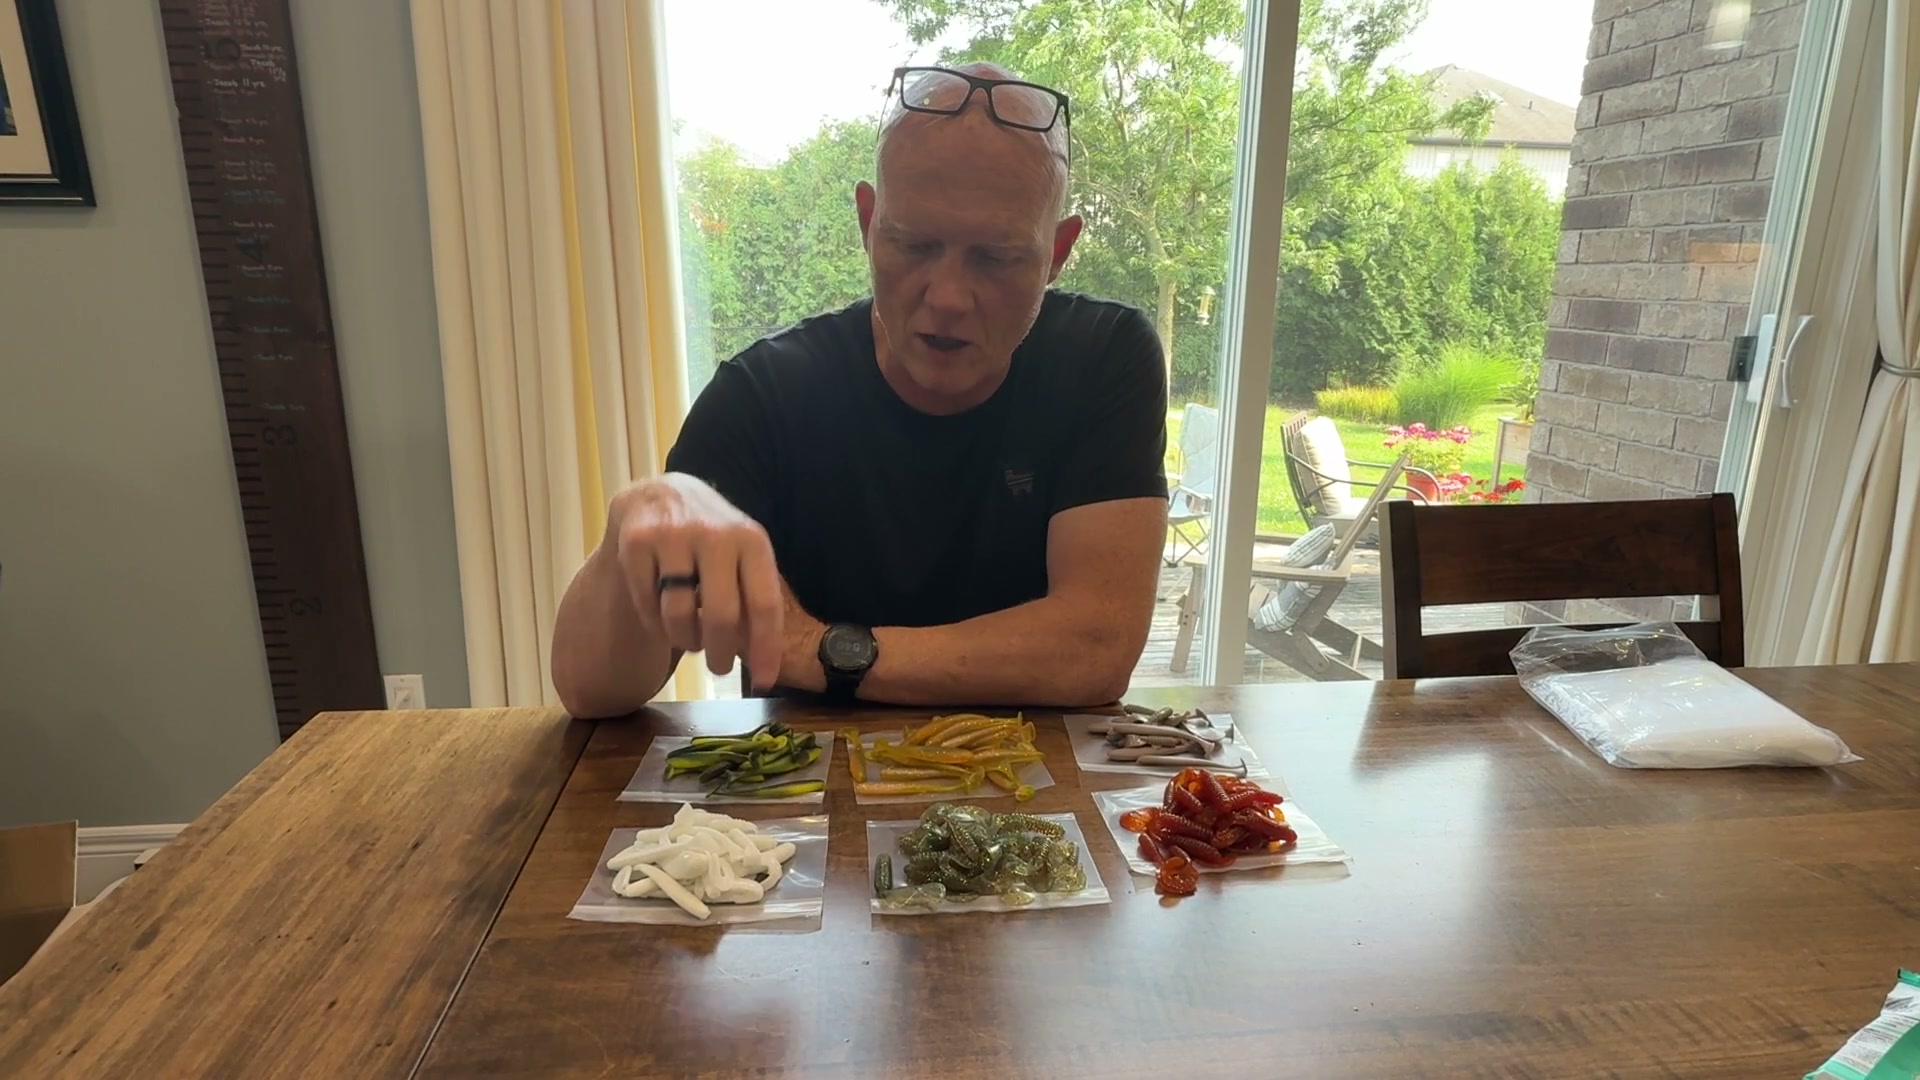
A few years ago my brother Chris and I started to make our own baits. We started simple, by making our own jigs. At first we thought it may be a cost effective solution for a part of our fishing hobby, but I learned quickly that wasn’t the case!
The first investments were the big ones, a melting pot and mold. The mold we chose for jigs came from Do-It (along with most of my stuff), and was the Freestyle Jig, in multi sizes. It best mirrored my favourite jig which is the VMC Mooneye.
Once you have the pot and the mold though, you need lead, keepers, and hooks, and it all starts to add up. Once you have a poured jig, you likely want to paint it, so now you need a fluid bed, powdered paint, a heat gun, a toaster oven and so on. It gets pricey fast, and if you are not selling the finished product (which I’m not), then you just really have to know this is just a way to add more fun to the larger hobby of fishing. I’ve done videos of pouring and painting jigs, and you can check them out below.
I have also been pouring my own plastics for the last few years too, but haven’t done an update for you on that. Similar to the jigs, the investment hurt to start. You needed more molds, injectors, plastisol, colours, sparkles, a microwave, again it all adds up. Because there are so many more plastic bodies out there, I had to get more molds, and those are the most expensive parts of all.
Having all the gear now, I make my own 3 and 4 inch grubs, as well as Slick Shiners, which is a 3.5 inch paddle tail, and a Ripper Shad, which is a thicker ribbed shad body. I’m now experimenting, so far unsuccessfully, at open pour molds for a larger 4.5 inch paddle tail that would be similar to one of my favourite baits, the Ripple Shad.
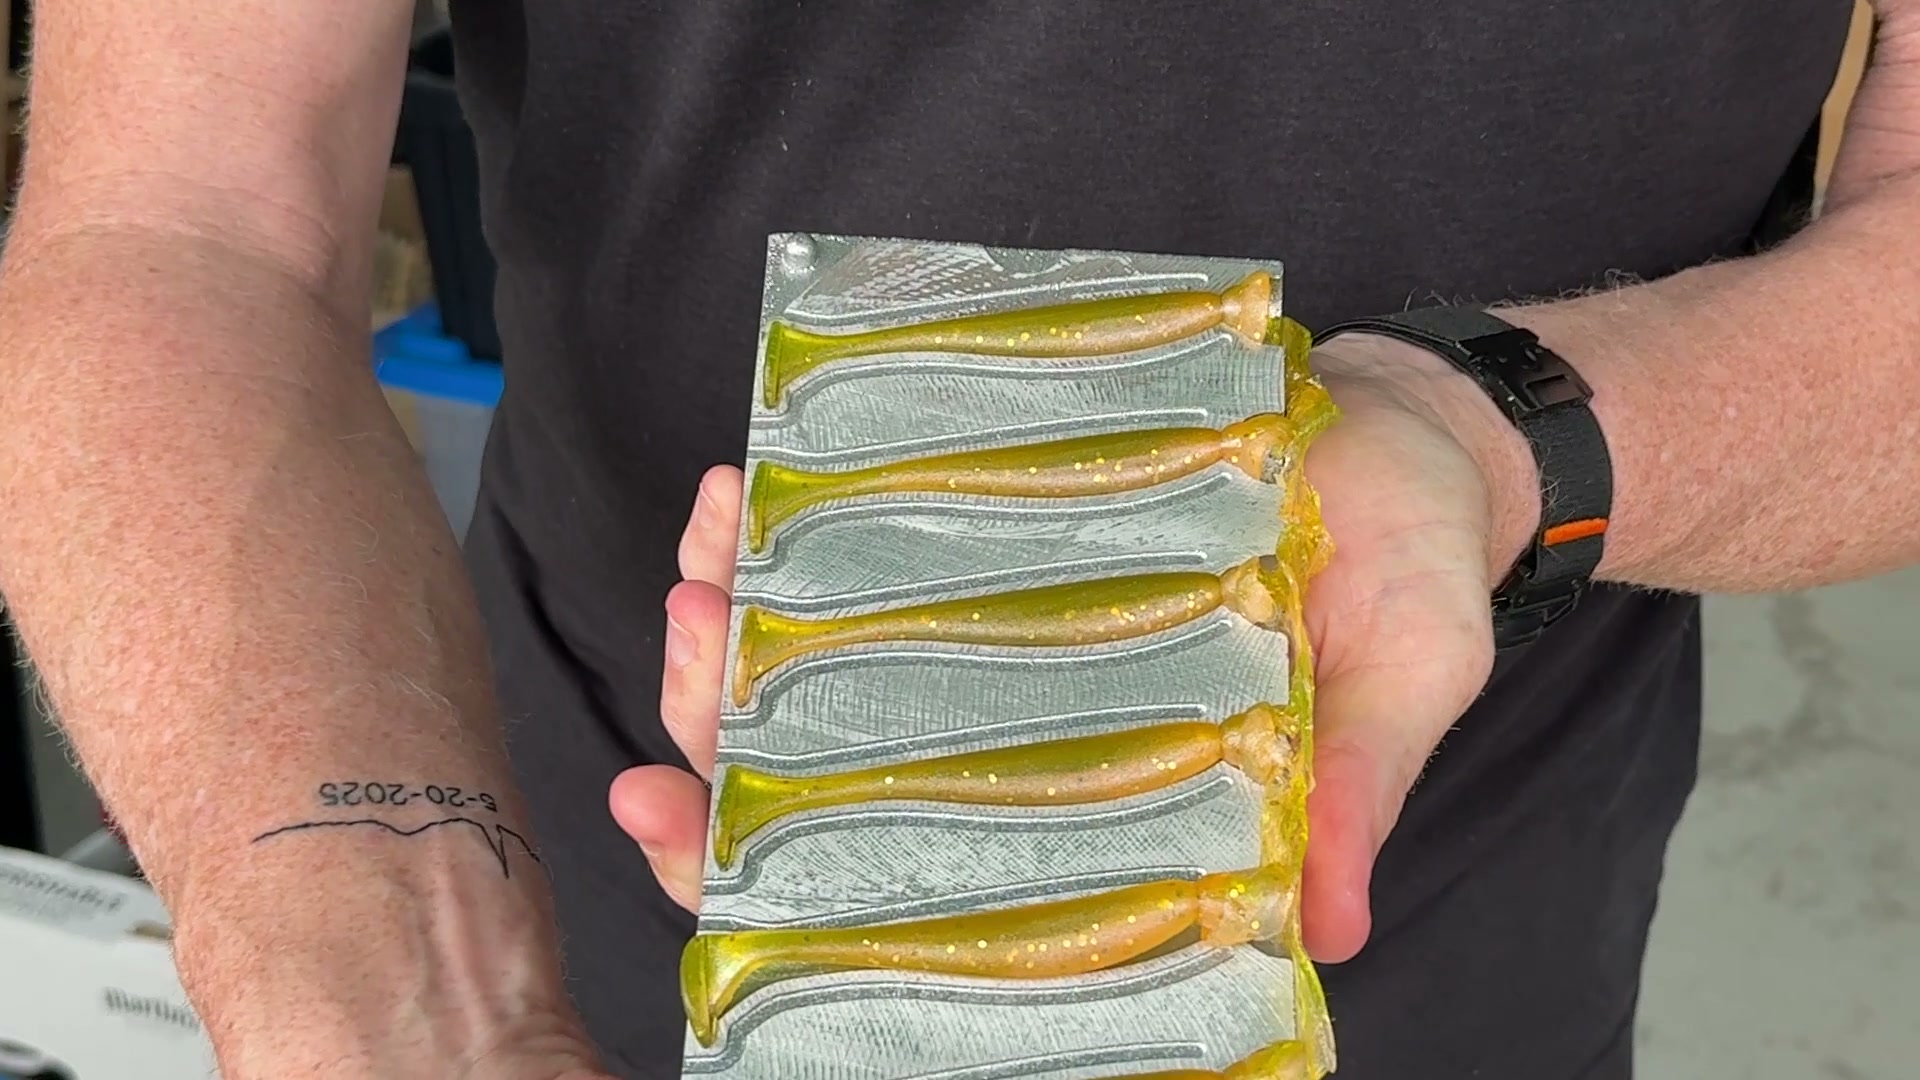
The open pour is the part I have not mastered, and it is going to take a few more sessions before I do. On my first attempt the bait sank in on the top face as it cooled. My first thought was that I hadn’t poured it full enough, or that I hadn’t run the plastic hot enough.
Turns out it was neither. Plastisol shrinks somewhere between 3 and 5 percent by volume as it cools, and that happens no matter what you do. In a closed injection mold the pressure and the cavity handle it. In an open pour the top is the only free surface, so every bit of that shrink has to land in one spot. The thicker the bait, the more obvious it gets.
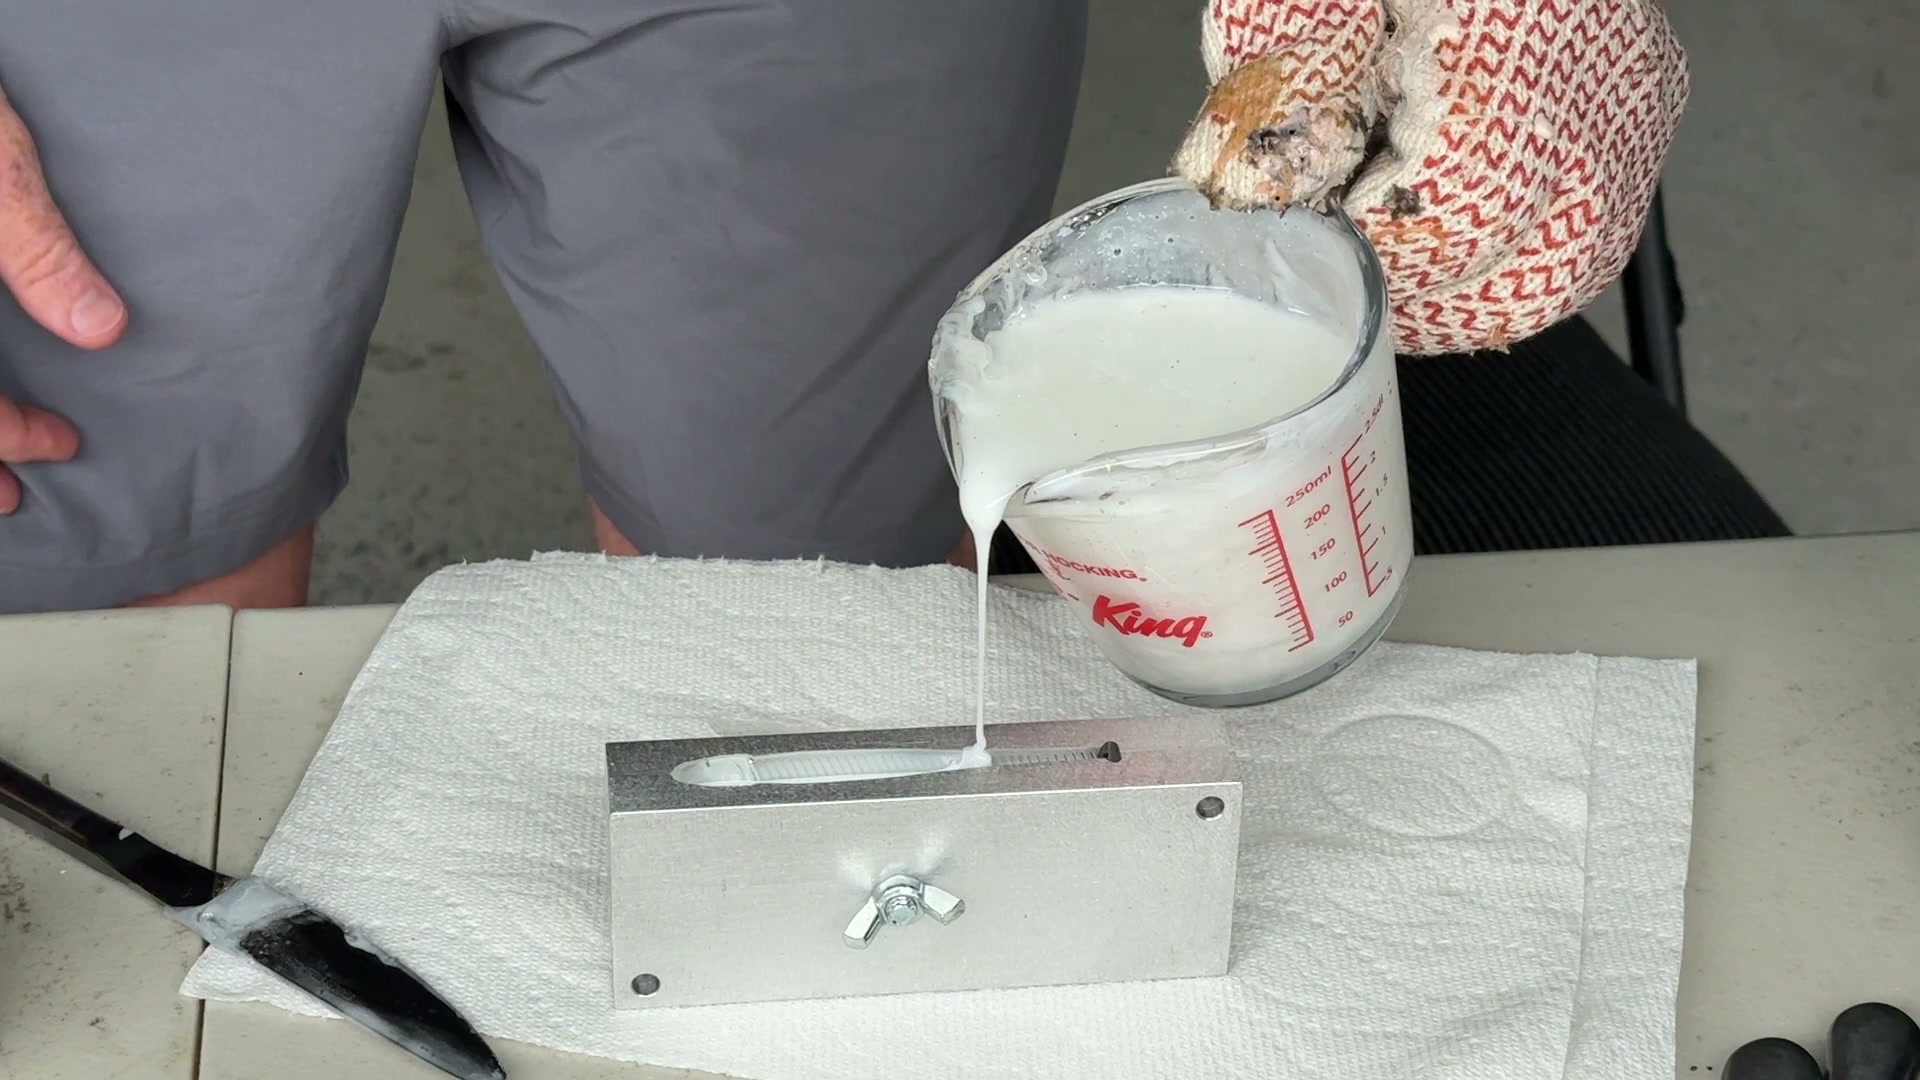
There are a few things I am going to work through next time. Preheating the mold to somewhere around 120 to 150F so the plastic doesn’t skin over too quickly. Pouring at 325 to 330F instead of pushing it to 350, which is what I did here. Topping the cavity back up with fresh hot plastic at around the 45 second mark, once a skin has formed but the middle is still liquid. Letting it cool on its own with no fan on it. And setting the cavity up so any mark that is left ends up on the hidden back face of the bait.
I’ll report back once I have run through them.
One other thing we do is bring our torn up plastics home from a trip rather than tossing them, or worse, leaving them in the lake. We cut them into pieces, melt them all down together, and pour them back into new baits. We call it a rewind. You never really know what colour you are going to end up with, and this batch came out somewhere around a mud clay. It will still catch fish.
This past weekend Chris came down for some bait making and I decided to do a bit of a video. I am not a pro at either soft plastics or jigs, but I can confirm it is fun, and every jig / plastic I have made catches fish.
If you are getting started with this and have questions, or if you have been at it longer than me and have tips, I would genuinely like to hear them. Tight lines!